Quick Facts
- The Cost of Repair: Screen replacements and battery swaps are the most frequent repairs, costing users hundreds of dollars annually.
- Diagnosis Hero: Android Safe Mode is the single most effective tool for isolating software conflicts without losing data.
- Cleaning Essentials: Most charging issues are solved with compressed air and a non-conductive toothpick rather than a port replacement.
- Performance Secret: Clearing the system cache partition can resolve lag that a simple reboot cannot fix.
- Safety First: Physical repairs require discharging the battery below 25% to prevent potential thermal events during disassembly.
- Automated Fixes: Specialized android troubleshooting software can now automate complex firmware flashing for users stuck in boot loops.
To effectively manage android troubleshooting, you should start by rebooting the device into Safe Mode to determine if third-party applications are causing system instability. For hardware-related power issues, cleaning the charging port of compacted lint often restores connectivity immediately. If software glitches persist or the device fails to boot, utilizing professional-grade android troubleshooting software or performing a factory reset can restore the operating system to its original state.
Introduction: The Rising Cost of Mobile Neglect
Think of your smartphone like your car. You wouldn't call a mechanic and pay for a full engine diagnostic just because your windshield was dirty or your tire pressure was a little low. Yet, when it comes to our mobile devices, we often jump straight to the "replace it" or "expensive repair shop" mentality at the first sign of a flicker or a slow-loading app.
The financial impact of this "disposable" mindset is staggering. In the United States, consumer spending on smartphone screen repairs surged to $8.3 billion in 2023, nearly tripling what we spent just five years prior. While professional help is sometimes necessary, approximately 17% of consumers are now taking matters into their own hands, realizing that many common issues don't require a degree in electrical engineering to solve.
By mastering a few basic android troubleshooting tips for beginners, you can reclaim the 15-20% of your phone’s value that is typically lost to preventable wear and tear each year. Whether you are dealing with a phone that won't charge or wondering why are my apps not working on my android, these five DIY fixes will help you maintain your device's longevity and keep your money in your pocket. This guide is designed to empower you with the right to repair mindset, ensuring your system stability remains high without the high-end service price tag.
Fix 1: The 'Toothpick' Rescue for Charging Issues
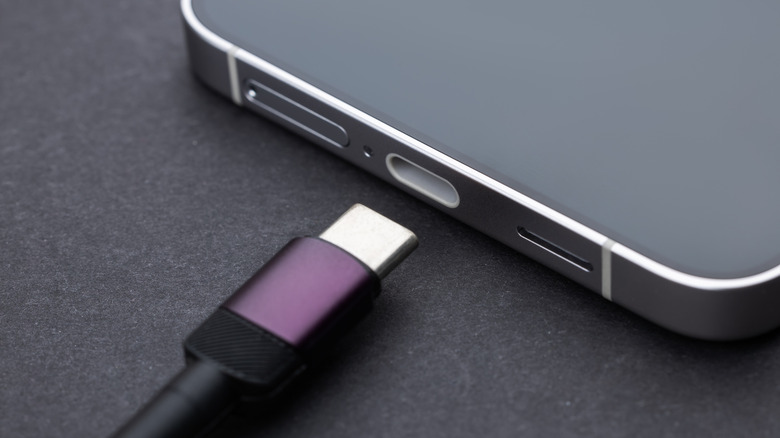
One of the most common reasons people think their phone is "dying" is a failure to charge. You plug it in, wiggle the cable, and nothing happens. Before you assume the USB-C port is broken and head to a repair shop, you need to check for the most common culprit: pocket lint. Over months of living in your jeans or purse, the charging port acts like a vacuum, collecting debris that eventually gets compacted by the charging cable.
To perform this fix, you’ll need a can of compressed air and a non-conductive tool, like a wooden toothpick or a plastic dental pick. Avoid using metal needles or safety pins, as these can short out the pins inside the port and cause permanent damage.
Start by blowing a few short bursts of compressed air into the port to loosen any dry dust. Then, very gently, use the toothpick to sweep around the inner edges of the port. You will be surprised at the amount of lint that can come out. Once the debris is cleared, the cable should click firmly into place, restoring the connection. This simple bit of hardware maintenance is often the secret behind successful samsung android troubleshooting when a device seems unresponsive to power.
Safety Warning: Never use liquids or metal objects inside your charging port. Ensure the device is powered off before you begin probing the port to prevent any electrical mishaps.
Fix 2: Speed Optimization & The Android 16 Shift
As devices age, they inevitably slow down, but this isn't always due to the hardware getting "old." Often, it's a result of poor memory management and cluttered background processes. If you find yourself asking how to make old android phone faster, the answer usually lies in deep-cleaning the software environment.
A common issue currently facing users is the transition to newer operating systems. For instance, the Android 16 shift involves a change in how memory pages are handled (shifting toward 16KB pages), which can cause older apps that haven't been updated to stutter or crash. To combat general lag, you should regularly go into your storage settings and delete unused apps that are eating up valuable space.
More importantly, you should learn how to clear the cache partition. Unlike the standard app cache, the system cache partition stores temporary files used for the OS itself. To do this, you'll need to enter your phone's recovery menu (usually by holding the Power and Volume Down buttons while the device is off). Clearing this partition doesn't delete your personal data, but it can significantly reduce thermal throttling and system lag by removing corrupted temporary files that confuse the processor.
Fix 3: Diagnostic Deep-Dive with Safe Mode
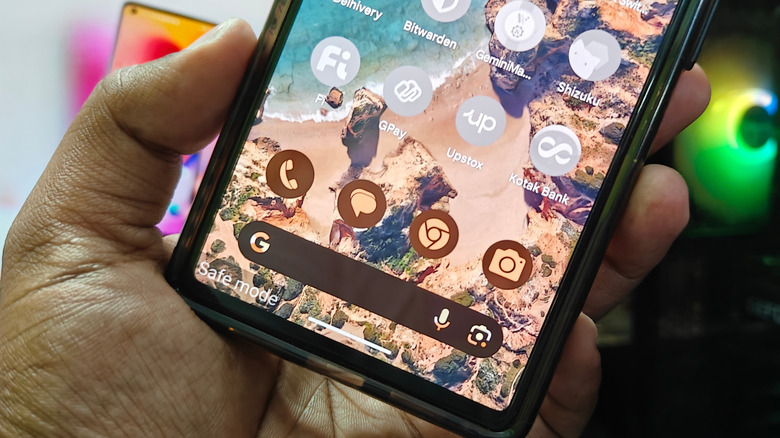
If you are constantly frustrated by the question of why are my apps not working on my android, you need a way to figure out if the problem is a "bad" app or the phone itself. This is where using android safe mode to find bad apps becomes your most valuable diagnostic tool. Safe Mode boots the device using only the original software it came with, temporarily disabling everything you’ve downloaded from the Play Store.
If your phone runs perfectly in Safe Mode, you know for a fact that the hardware is fine and the issue is a third-party app. You can then uninstall your most recently added apps one by one until the problem disappears. The process for entering Safe Mode varies by manufacturer, particularly for samsung android troubleshooting which sometimes requires a specific sequence if the device is connected to a computer.
| Feature | Google Pixel / Standard Android | Samsung Galaxy Devices |
|---|---|---|
| Activation Method | Long-press 'Power Off' icon in power menu | Hold Power + Vol Down, then long-press 'Power Off' |
| Visual Indicator | 'Safe Mode' text at bottom left | 'Safe Mode' overlay at bottom left |
| Exit Method | Restart the device normally | Restart the device normally |
| Special Requirement | None | Some newer models require a USB-C connection to a PC |
Fix 4: Fixing Boot Loops with System Repair Software
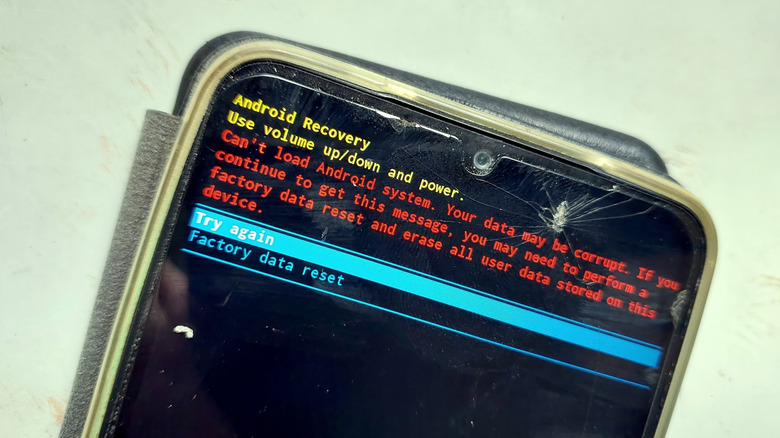
Sometimes, a software issue is so severe that you can't even get to the home screen. This is known as a boot loop, where the phone continually restarts or hangs on the logo screen. In the past, this meant a trip to a technician who would perform firmware flashing. Today, you can do this at home using desktop-based android troubleshooting software.
These programs are designed to communicate with your phone while it is in Download Mode or Recovery Mode. They automatically identify the correct version of the operating system for your specific model and "re-flash" it, essentially giving the phone a fresh brain. This is the ultimate fix for a bricked device or a corrupted system recovery environment.
If you don't want to use third-party software, you can attempt a factory reset android phone for software issues manually through the recovery menu. By selecting "Wipe Data/Factory Reset," you return the phone to its original state. Just remember that this will erase all your photos and messages, so it should be used as a last resort when your system stability is completely compromised.
Fix 5: Safe Battery & Screen Replacement Prep
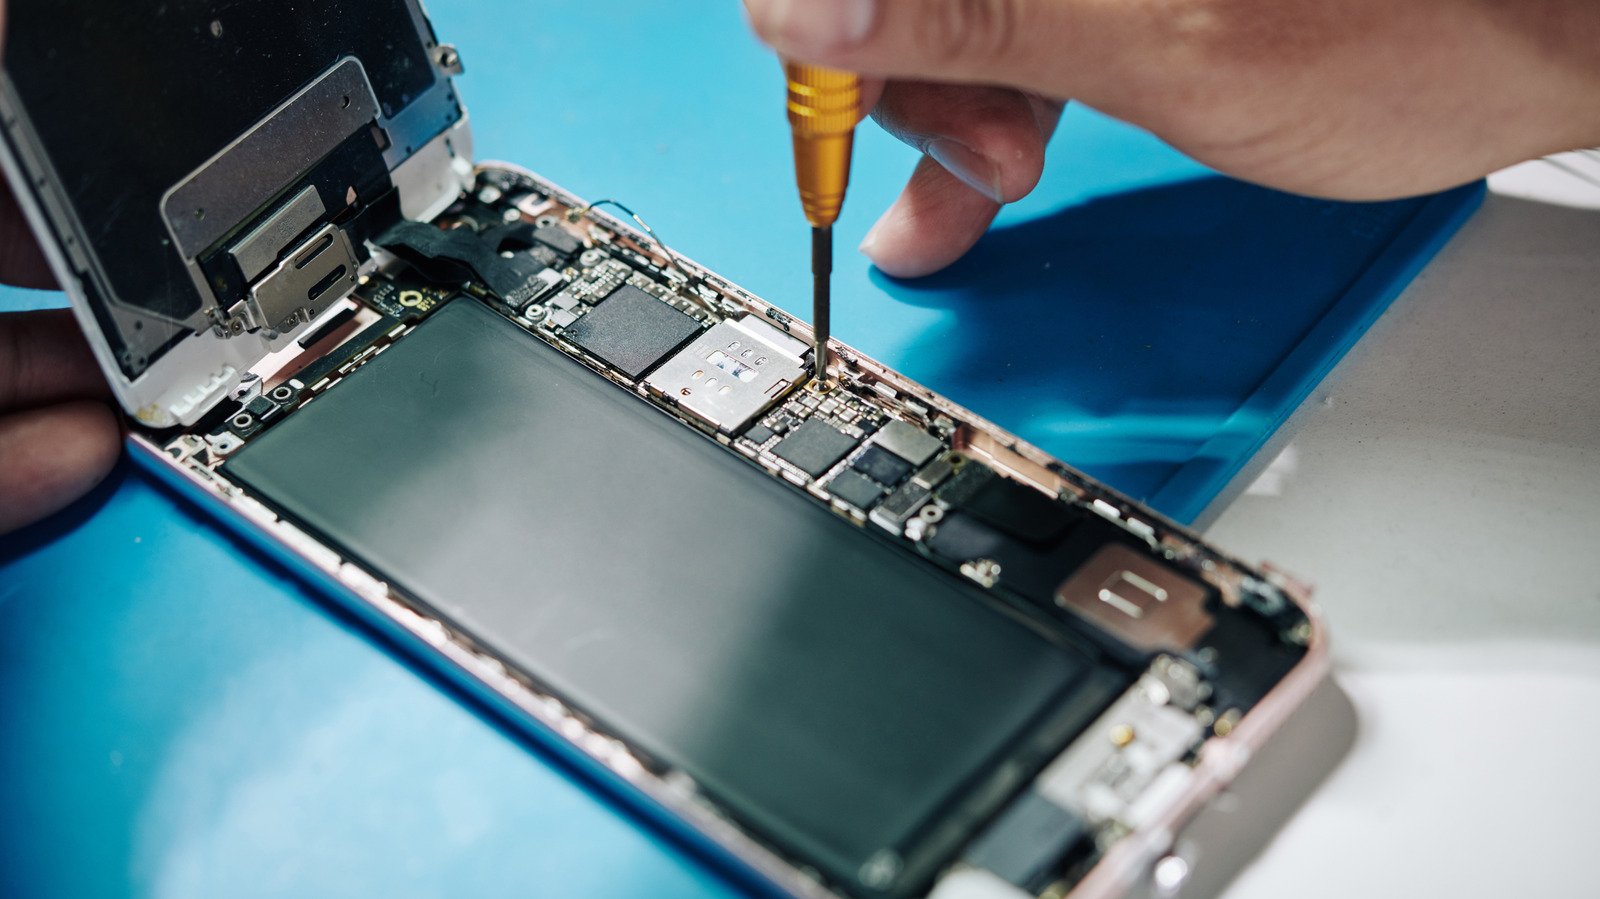
Physical damage accounts for a massive portion of the repair market, with screen replacements alone making up approximately 42% of total repair demand. While replacing a screen is a complex task, preparing your device for a DIY hardware swap is something anyone can do with patience and a few household items.
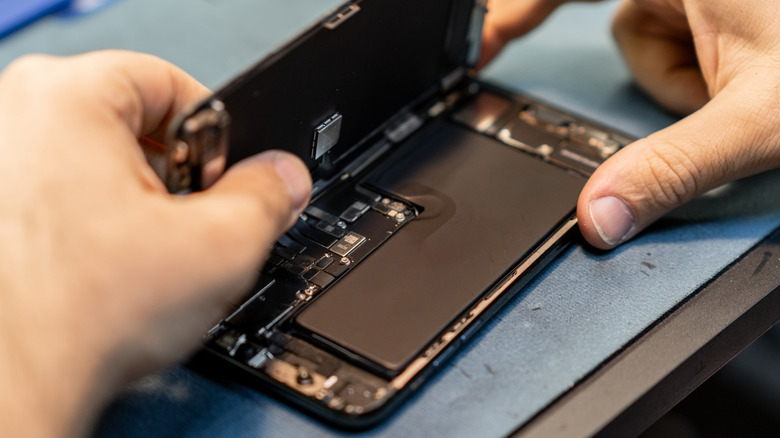
The biggest hurdle in modern phone repair is adhesive. To get inside, you'll need to use a hair dryer or a heat gun to soften the glue holding the back panel or screen in place. Professionals often use 90% isopropyl alcohol to further dissolve the adhesive bonds. Once the glue is soft, a suction cup and a thin plastic tool—like a guitar pick—can be used to carefully pry the frame apart.
The most critical step in any physical repair is preventing a "thermal event." This is a polite way of saying your battery could catch fire if it is punctured while full of energy. Always ensure your battery is discharged below 25% before you attempt to open the case. This reduces the volatile energy stored in the lithium-ion cells, making it much safer to handle if you accidentally nick the battery casing while prying.
Safety Warning: Always wear eye protection when prying glass screens. If a battery begins to hiss or swell during a repair, immediately move the device to a non-flammable surface (like a concrete floor or a metal bucket) and stay back.
FAQ
How do I troubleshoot my Android device?
Begin with a soft reset by holding the power button for 30 seconds. If the issue persists, use Safe Mode to check for app conflicts and inspect the physical ports for debris. If software glitches are the cause, clearing the cache partition is the next logical step before attempting a full factory reset.
How to run full diagnostics on Android phone?
Most Android phones have hidden diagnostic menus. On many devices, opening the phone dialer and entering #0# will bring up a hardware test suite. For a more user-friendly experience, apps like 'Device Info' or the built-in 'Samsung Members' app can run automated checks on your sensors, screen, and battery health.
How to reset an unresponsive Android phone?
If your screen is frozen, perform a "forced restart" by holding the Power and Volume Down buttons simultaneously for about 10 to 15 seconds. This cuts the power momentarily and forces the hardware to reboot, which usually bypasses any software hangups without deleting your data.
How to fix a corrupted Android system?
A corrupted system usually requires a fresh installation of the firmware. You can attempt this by entering Recovery Mode and selecting 'Wipe Cache Partition' first. If that fails, using desktop-based android troubleshooting software to re-flash the OS is the most reliable way to overwrite corrupted files.
What does *#9900# do to your phone Android?
This code opens the 'SysDump' menu on many Android devices, particularly Samsung models. It allows you to perform advanced tasks like 'Delete dumpstate/logcat,' which can free up system storage by removing old error logs that have accumulated over time.
DIY vs. Professional: Knowing When to Stop
While the DIY approach can save you a fortune, part of successful android troubleshooting is knowing your limits. If your issue involves microsoldering on the motherboard, or if you see smoke coming from the device, it is time to put down the toothpick and call a professional.
However, for the vast majority of app crashes, charging failures, and system slowdowns, the power to fix your phone is already in your hands. By treating your phone with the same regular maintenance you’d give a car—cleaning the "intake" ports and "tuning" the software—you can extend the life of your device by years. Stay curious, stay safe, and remember that a little bit of patience is often all it takes to avoid a $800 upgrade.